SLA Printer
Prusa SL1 and Prusa CW1 Instruction Manual
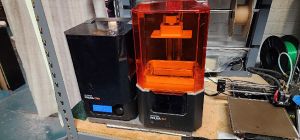
Welcome to the guide for using the Prusa SL1 3D Printer and the Prusa CW1 Washing/Curing Station in our makerspace. Please read this document carefully and adhere to all safety guidelines to ensure the proper use of these tools.
NYC RESISTOR is not responsible for improper usage of tools. Please refer to this guide, as well as the official documentation around these devices for safe handling of the equipment!
Table of Contents
[edit | edit source]- Before starting: read the official documentation
- Safety First: Wear Nitrile Gloves
- Step 1: Preparing Your 3D Model
- Step 2: Printing with the Prusa SL1
- Step 3: Post-Processing with the CW1
- Error Conditions and Common Issues
- Step 4: Cleanup and Shutdown
- Final Notes
Before starting: read the official documentation
[edit | edit source]Prusa maintains excellent, easy to read documentation on the SL1 and CW1. This guide comes in addition to that.
Safety First!
[edit | edit source]Always wear nitrile gloves throughout the entire process. This is crucial for your safety, as you will be handling resins that can be harmful if they come in contact with your skin. Gloves should be worn:
- When handling resin bottles
- When interacting with the print, both during and after the print process
- When using the CW1 Washing and Curing Station
- When cleaning the printer and work area
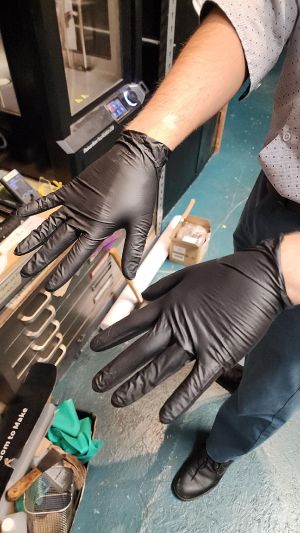
Refer to Figure 1.1 for a visual guide on proper glove usage.
The space also maintains other safety equipment, including, but not limited to, a silicon mat to place your prints on, a spray bottle with isopropyl alcohol, and napkins to help clean up any spills.
Please set up this equipment whenever you are handling the resin printer and washing/curing station. Use the isopropyl alcohol spray bottle and napkins to clean up any surfaces that get resin on them.
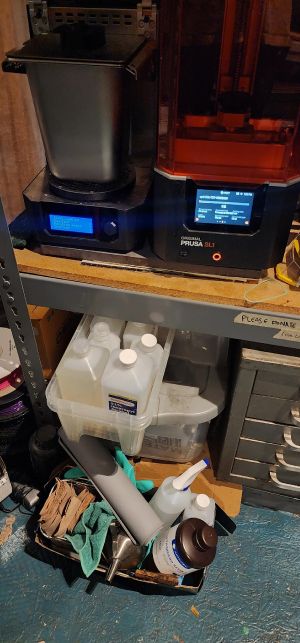
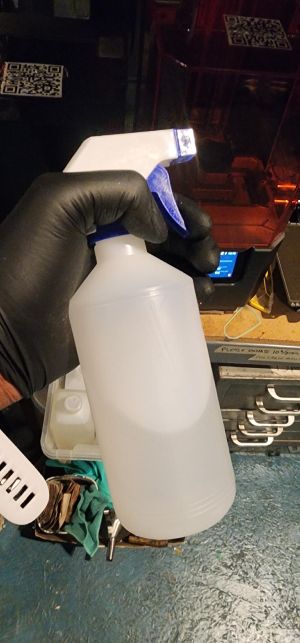
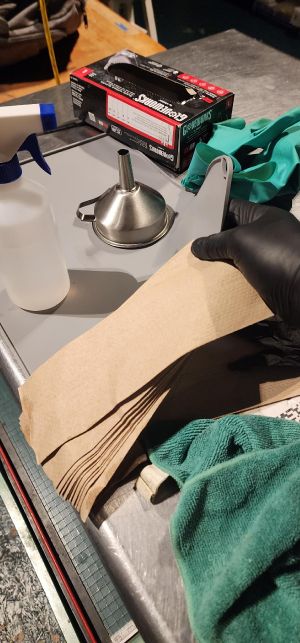
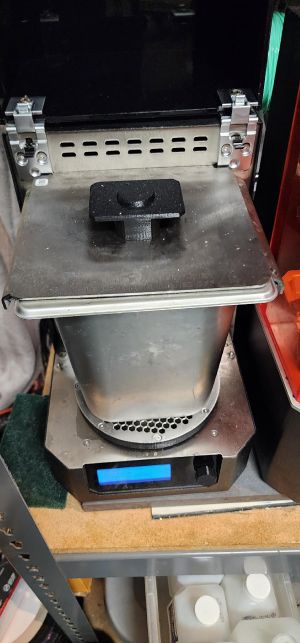
Refer to Figure 1.2, Figure 1.3 and Figure 1.4 for a visual guide on the equipment's appearance.
If the space runs out of any safety equipment - ask a member! They will help you find some more of the aforementioned equipment or order more.
Step 1: Preparing Your 3D Model
[edit | edit source]Use the Custom Prusa Slicer Settings
[edit | edit source]We have developed custom settings for the Prusa Slicer to optimize print quality and reduce errors. Please use the provided custom slicer settings for the SL1, which can be found in the settings folder on the USB drive provided with the printer.
Our makerspace continually updates the printer slicer settings as we receive new resins. You can find the most up-to-date settings for all our available resins here: Makerspace Resin Settings
These settings have been fine-tuned for the resins that we have in storage:
- Optimized layer heights
- Exposure times
- Support settings specific to our materials
If you are experimenting with a new Resin, its best to research the optimal print settings for that resin. To help, please check out this Open Source Resin Setting Repository
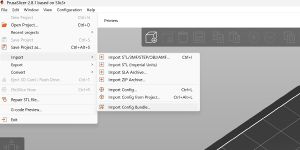
Make sure to refer to Figure 2 for a step-by-step guide on importing and applying the custom slicer settings.
Step 2: Printing with the Prusa SL1
[edit | edit source]After slicing your model and exporting the file, follow these steps to initiate the print on the Prusa SL1:
- Turn on the Prusa SL1 by pressing the power button on the back of the unit.
- Insert your USB drive with the sliced file into the port.
- Navigate to the file and press Start Print.
- Check the resin level in the vat and ensure that it is adequate for your print.
- Throughout the printing process, periodically check the print progress on the display.
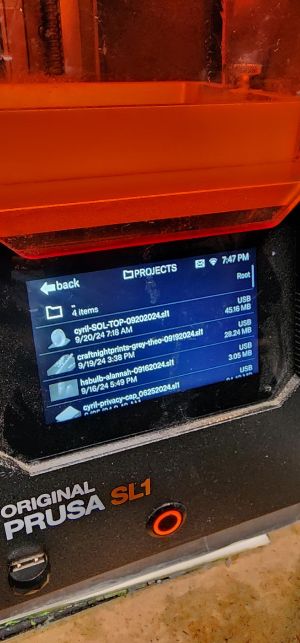
Refer to Figure 3 for a detailed view of the Prusa SL1 setup and controls.
Preparation
[edit | edit source]- Shake the resin bottle well before use
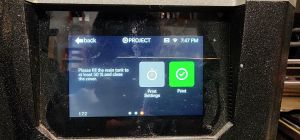
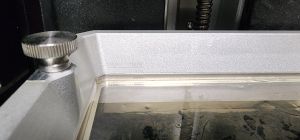
- Pour resin into the vat, filling it to the recommended level (see Figure 4)
- Ensure the build platform is clean and properly attached
Step 3: Post-Processing with the CW1
[edit | edit source]Once your print is finished, it's time for post-processing using the Prusa CW1 Washing/Curing Station.
Washing
[edit | edit source]- Remove the print from the build plate while wearing your gloves.
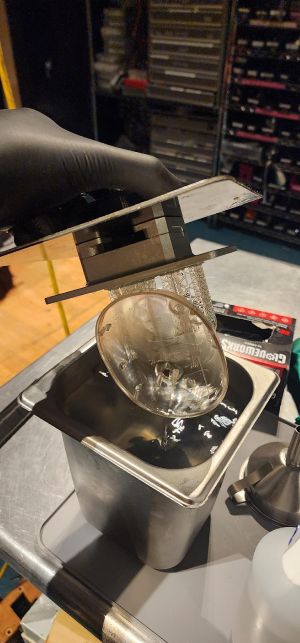
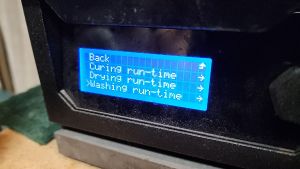
- Place the print into the CW1 for washing, ensuring the print is fully submerged in the isopropyl alcohol (IPA). (refer to Figure 5.0 for how this looks)
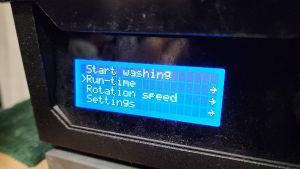
- Start the washing process by selecting the appropriate washing time (typically 3-8 minutes, depending on size) and hit `Start Washing`.
- Once washing is complete, remove the print carefully and inspect it. Do not worry about drying - the CW1 also dries the model.
Curing the Print
[edit | edit source]- Place the washed print in the curing chamber of the CW1.
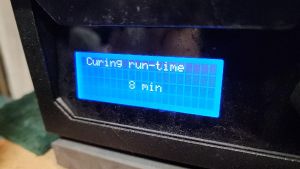
- Select the appropriate curing time based on the resin you used (refer to Figure 6 for setting curing time). (Usually 5-10 minutes)
- Once cured, the print is ready for use.
Error Conditions and Common Issues
[edit | edit source]Suction Cupping of the FEP
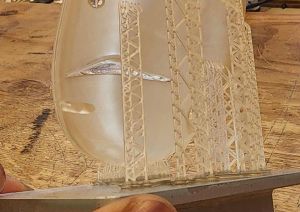
[edit | edit source]Important: To avoid damaging the FEP film, do not let your print finish with suction cupping. Suction cupping happens when bad slicing creates solid bases that press against the FEP sheet, which could lead to tearing or warping the FEP film.
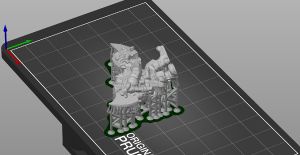
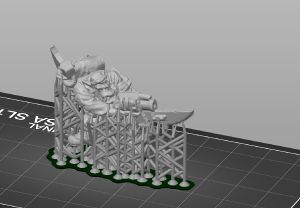
Refer to Figure 7 for a visual example of suction cupping and how to avoid it in your print designs.
To avoid suction cupping:
- Ensure you're using the provided custom slicer settings
- Orient your model to minimize large, flat surfaces parallel to the build plate
- Use appropriate support structures
Print Failure or Layer Misalignment
[edit | edit source]Layer misalignment can occur due to:
- Resin running low
- Print detaching from the build plate during the process
- Excessive heat buildup in the chamber
- Not enough supports on the print surface
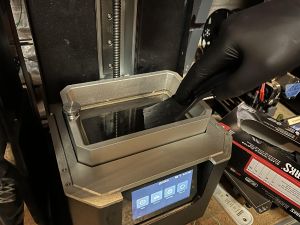
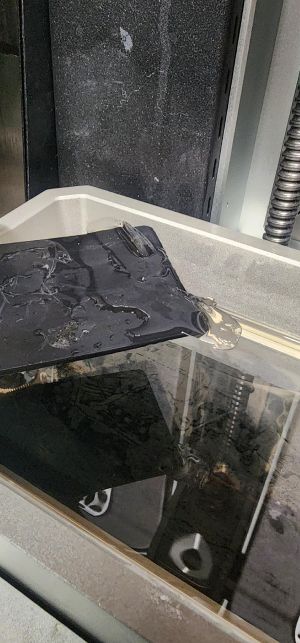
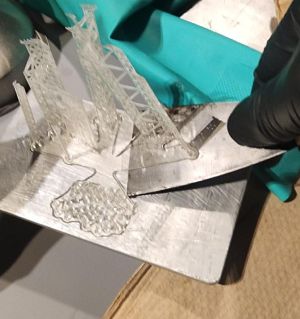
If you encounter any of these issues, stop the print immediately, review your setup, and clean the FET as well as the print head. Refer to Figure 8 for tips.
Resin Spills
[edit | edit source]If you spill resin, clean it up immediately using paper towels and the IPA Spray Bottle.
Step 4: Cleanup and Shutdown
[edit | edit source]- Clean the build plate using IPA and a soft cloth, DO NOT clean the resin VAT with IPA as it will damage the FEP film bottom (source: https://www.prusa3d.com/downloads/manual/prusa3d_manual_sl1_en.pdf)
"Inspect the resin tank bottom before and after each print. Look for any scratches, dents or holes. If the FEP film is damaged, replace it immediately, otherwise, you’re risking a resin spillage. If the FEP film has a grey-ish tint, you can restore it to its original look by washing it with warm water with a bit of dishwashing soap (or even regular soap) before you start printing again. Don’t print with a dirty or damaged FEP film, as it will negatively impact the print quality. It may even lead to damage to your printer. NEVER use isopropyl alcohol to clean the FEP film!"
- Ensure the resin vat is clean and the FEP is free from debris or print remnants.
- Store the printer with the cover on to prevent dust from entering the resin vat.
- Turn off the printer and CW1 when finished.

Refer to Figure 10 for a visual guide on the proper cleanup procedure.
Final Notes
[edit | edit source]- Always handle resins and prints with care and responsibility.
- Review the additional sections with images (Figures 1-10) for visual references.
- If you encounter any issues not mentioned here, reach out to one of the NYC Resistor members for assistance.
Happy Printing!